Compound Miter Saw Tune Up and Calibration Tips
Before you start on a project using a miter saw, you would need to make sure that you have properly tuned it up. This tune up process is not only necessary for more flawless and greater finishes, but it is also essential in ensuring your safety. Knowing how to correctly tune up your miter saw would help reduce casualties and accidents in your work site.
The compound miter saw is designed so that it can create both bevel and miter cuts, even if you do it individually or simultaneously. Because of that, a compound miter is used on different job sites. Transporting the compound miter saw can cause different alignments, so you would have to tune it up before starting your work. If you don’t do it first, then it might cause a hazard for you and work.
Listed below are tips that can help you tune up and calibrate your compound miter saw.
- Make Sure That Your Compound Miter Saw Is Clean
The first thing that you need to do is to ensure the cleanliness of your compound miter saw. Check your miter saw thoroughly so that you would be able to know which parts are clean and which parts aren’t. Use a cloth to clean your miter saw and if you can, use gloves because the sharp parts of your miter saw might accidentally injure you.
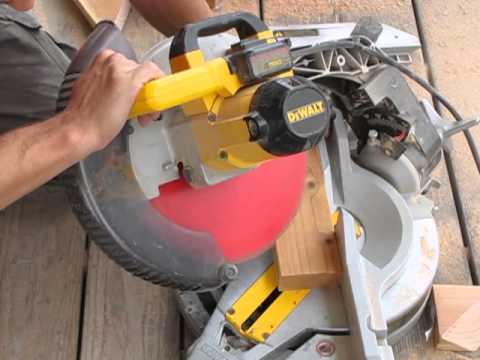
- Check the Blade of Your Compound Miter Saw
Before you can actually tune up your compound miter saw, you should first check out the blades of your miter saw. Check it carefully so that you can be sure of the cleanliness and the sharpness of the blades. You can also use this time to decide if the current blade of your miter saw is the one that you should use for your cutting project. If you think that the blades don’t meet the requirements for the project, change the blades immediately.
- Fence and Table Alignment
Most miter saws usually come with their own fences which can get out of alignment. Whether you have a newer or older model of your compound miter saw can affect the type of table base that you’ll have. The newer types of miter saw have flat table bases that are sturdy while it is not necessarily the same with older types.
The first thing that you’ll need to do is check out whether the table is still flat. Use a straight metal edge to find out if your table is still flat or not. Place the metal edge on your table and if you manage to see gaps between the table and the metal edge, then your table is not flat anymore.
Once you’ve managed to determine if your table is still flat, the next thing that you need to check out is the fence, which is located at the edge of the table. You would also need to make sure that it is straight. To find out if it is straight, do the same process you used for the table.
- Check Out the Miter Angle
Now that you have fixed the fence and table, you can now start checking the miter angle of your compound miter saw. To start with, you would need to start by making the bevel angle of the blade to 0 degrees and adjust so that the miter angle would also be at 0 degrees.
Before you continue, you also need to make sure that you have unplugged the saw from the power outlet for your own safety. Now, you would need to place a combination square flat on the table, with one of its edge against the edge of the fence. Slowly lower the saw so that the blade is placed in the lowest possible position. After you’re done with that, slide the square against the side edge of the blade.
Now that one of the edges of the square is placed against the fence and one of the edges is placed against the blade, it is time to check again for any gaps between the blade and the fence. If there is any gap, adjust the miter angle of the blade by loosening the miter tightening knob. Continue doing so until the blade and the fence have no gaps and then tighten the knob again.
- Check Out the Bevel Angle
Aside from the miter angle, you should also check out the bevel angle. The process is quite similar to the miter angle – you only need to ensure that the angle is at zero degrees and that it also makes a square to the table.
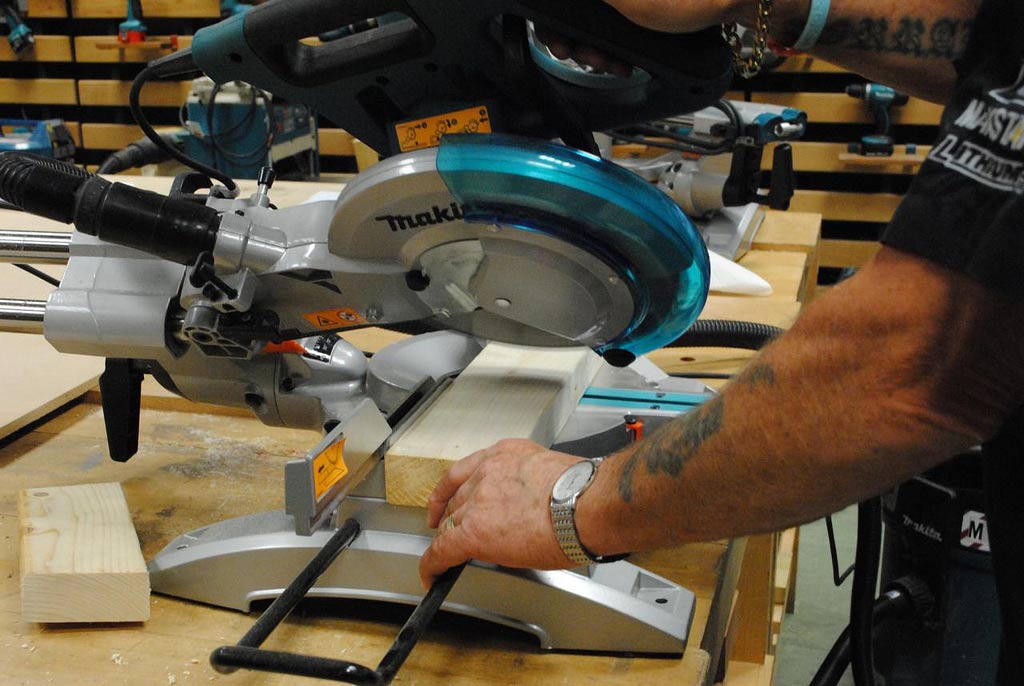
- Finally, Check for the Accuracy of Your Miter Saw
Now that you have finished tuning up your miter saw, it is time for the final step. For the last step, you would only need to test your miter saw. Start by plugging it into a power outlet – make sure that you handle it properly as you plug it so that you won’t sustain any injury. Now place a flat board on the table and make a crosscut with the miter and bevel angles at 0 degrees. After cutting, check if the cut you made is square. If it isn’t a square cut, you would need to re-adjust the angles of the blades again until you manage to make a square.