The Right Way to Start With Traditional Woodworking
Wood is without doubt a very popular material in the construction and home decoration industry. From doors to tables, wooden bunk beds to floors, cabinets and picture frames, wood simply takes home the crown.
Wood is without doubt a very popular material in the construction and home decoration industry. From doors to tables, cabinets and picture frames, wood simply takes home the crown. But as the demand for it goes higher, so is the need to come up with methods and technology that can process it fast enough to meet the increasing demand.
Nonetheless, despite the high requirement for mass-produced wooden products and the efficiency that power tools and machines offer, the classic appeal of and craftsmanship put into hand-made ones leave a very good reason why it would be a shame to let traditional woodworking fade in the shadows of modern technology.
Traditional Woodworking in a Nutshell
Traditional woodworking is a wood crafting and processing method that uses traditional hand tools like saw and chisel instead of power tools and machines like jigs, bits and routers. It puts a higher premium on quality and authenticity than on efficiency and a product’s commercial feasibility.
This is not to say that modern woodworking methods are inferior to traditional ones. Both have benefits and drawsides. And depending on the goal that you’re trying to achieve, either of these methods can very well serve your purpose.
Getting Started
The satisfaction you’ll get from creating something unique with your bare hands is the most compelling reason why you’d want to do it the old-fashioned way. Here are the basic steps to get you started.
Step 1. Get the basic tools.

Source: www.woodworkingpage.com
- Workbench
This is used for keeping your wood in place for planing and sawing.
- Jack plane
This is used for removing rough stock and jointing board edges.
- Block Plane
This is used for trimming joints and end grain, and for putting champers on edges.
- Rip and Cross Cut Panel Saws
These are used for rough dimensioning lumber.
- Dovetail, Carcass, and Tenon Back Saws
Use the dovetail saw for cutting joinery along the grain, the carcass saw for cutting across the grain, and the tenon saw for making deeper cuts.
- Miter Box and Miter Saw
These are used for making accurate and square or angled lengths.
- Coping Saw
This is used for removing waste from dovetail joints and for rough cutting shapes on the board.
- Bench Chisel Set
A high quality bench chisel set would be worth spending for. You can use it practically for any project and can last for years.
- Mortise chisel
This is used for chopping rectangular holes on the side of your board for tenon insertion.
- 6-inch Combination Square
You can use this for checking the accuracy of your squares, and for scribing joints.
- Try Square
Get a good quality metal try square ranging from 9 to 12 inches, which you will need for scribing square line on the face of your board.
- Sliding bevel squares
This is also known as the bevel gauge that is used for scribing angles on your piece.
- Two Pairs of Compass
Also known as dividers, compasses are used for taking and replicating measurements on a work piece.
- Marking Gauge
A good marking gauge will help you transfer measurements with ease and accuracy.
- Folding rule and tape measure
A folding rule is used for taking rough measurements when cutting boards.
- Marking Knife
Marking knives are used for making accurate marking lines for your cuts.
- Sharpening Supplies
Using dull tools will only waste your time, material, and energy so be sure to have sharpening supplies to help you keep your tools sharp.
- Wooden mallet
This is used for hitting your chisel when cutting joints.
- Large shoulder plane
A large shoulder plane will help you cut most sizes when trimming tenons, cutting rabbets, etc.
- Clamps
You’ll need clamps to hold joints together until the glue hardens.
Step 2. Get your workshop in place

Source: youtube.com
One benefit of traditional woodworking is you won’t need too much space for your work and storage area. A small loft, basement or garage will do as long as you can keep your work area quiet and clean and have a safe storage for your hand tools.
Step 3. Learn how to properly use and keep your tools in good condition
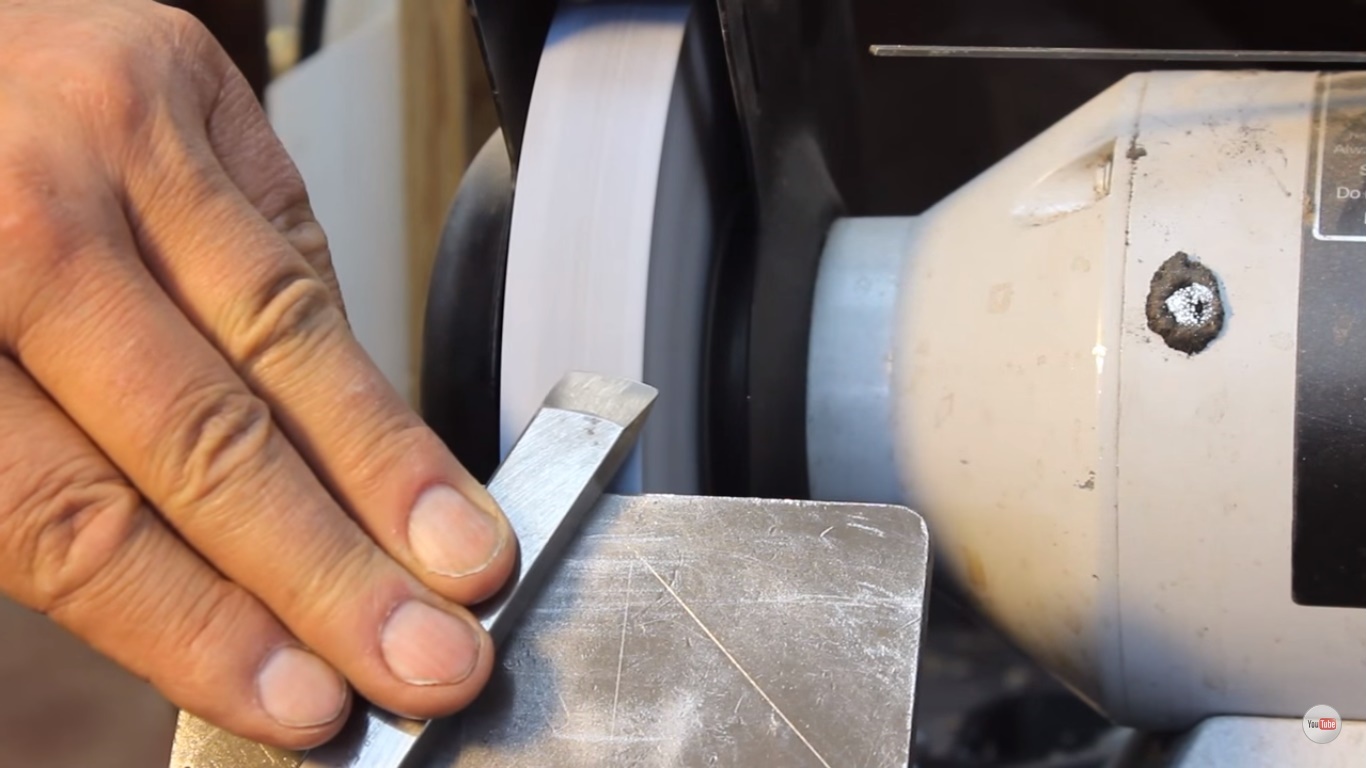
Source: youtube.com
This requires discipline but if you’d be patient enough to do this, you’ll save yourself a great deal of time and money in the long run.
Step 4. Know your wood.
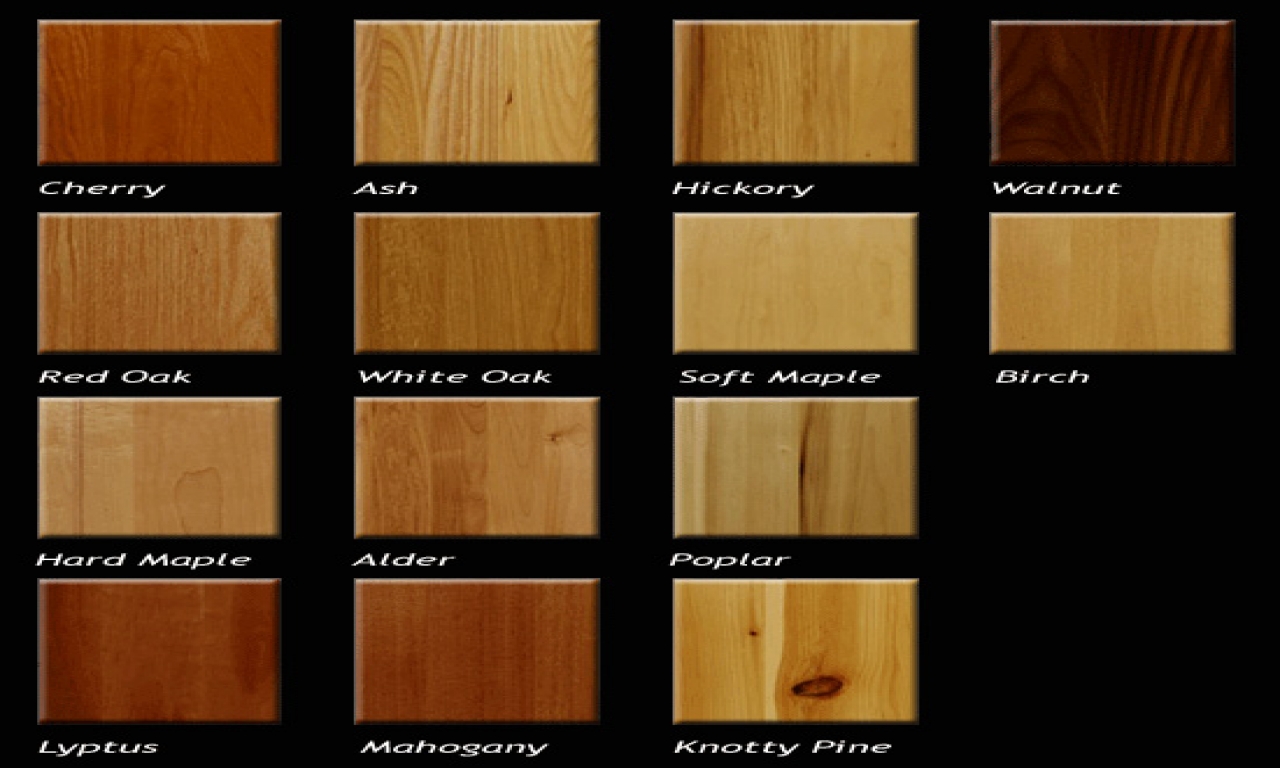
Source: www.pic2viral.com
The more knowledge you gain about the different types of wood, the defects you need to avoid, the possible sources of lumber, and the lumberyard language, the higher your chances of getting the perfect wood for your project will be. So, take time to learn.
Step 5. Learn the methods.
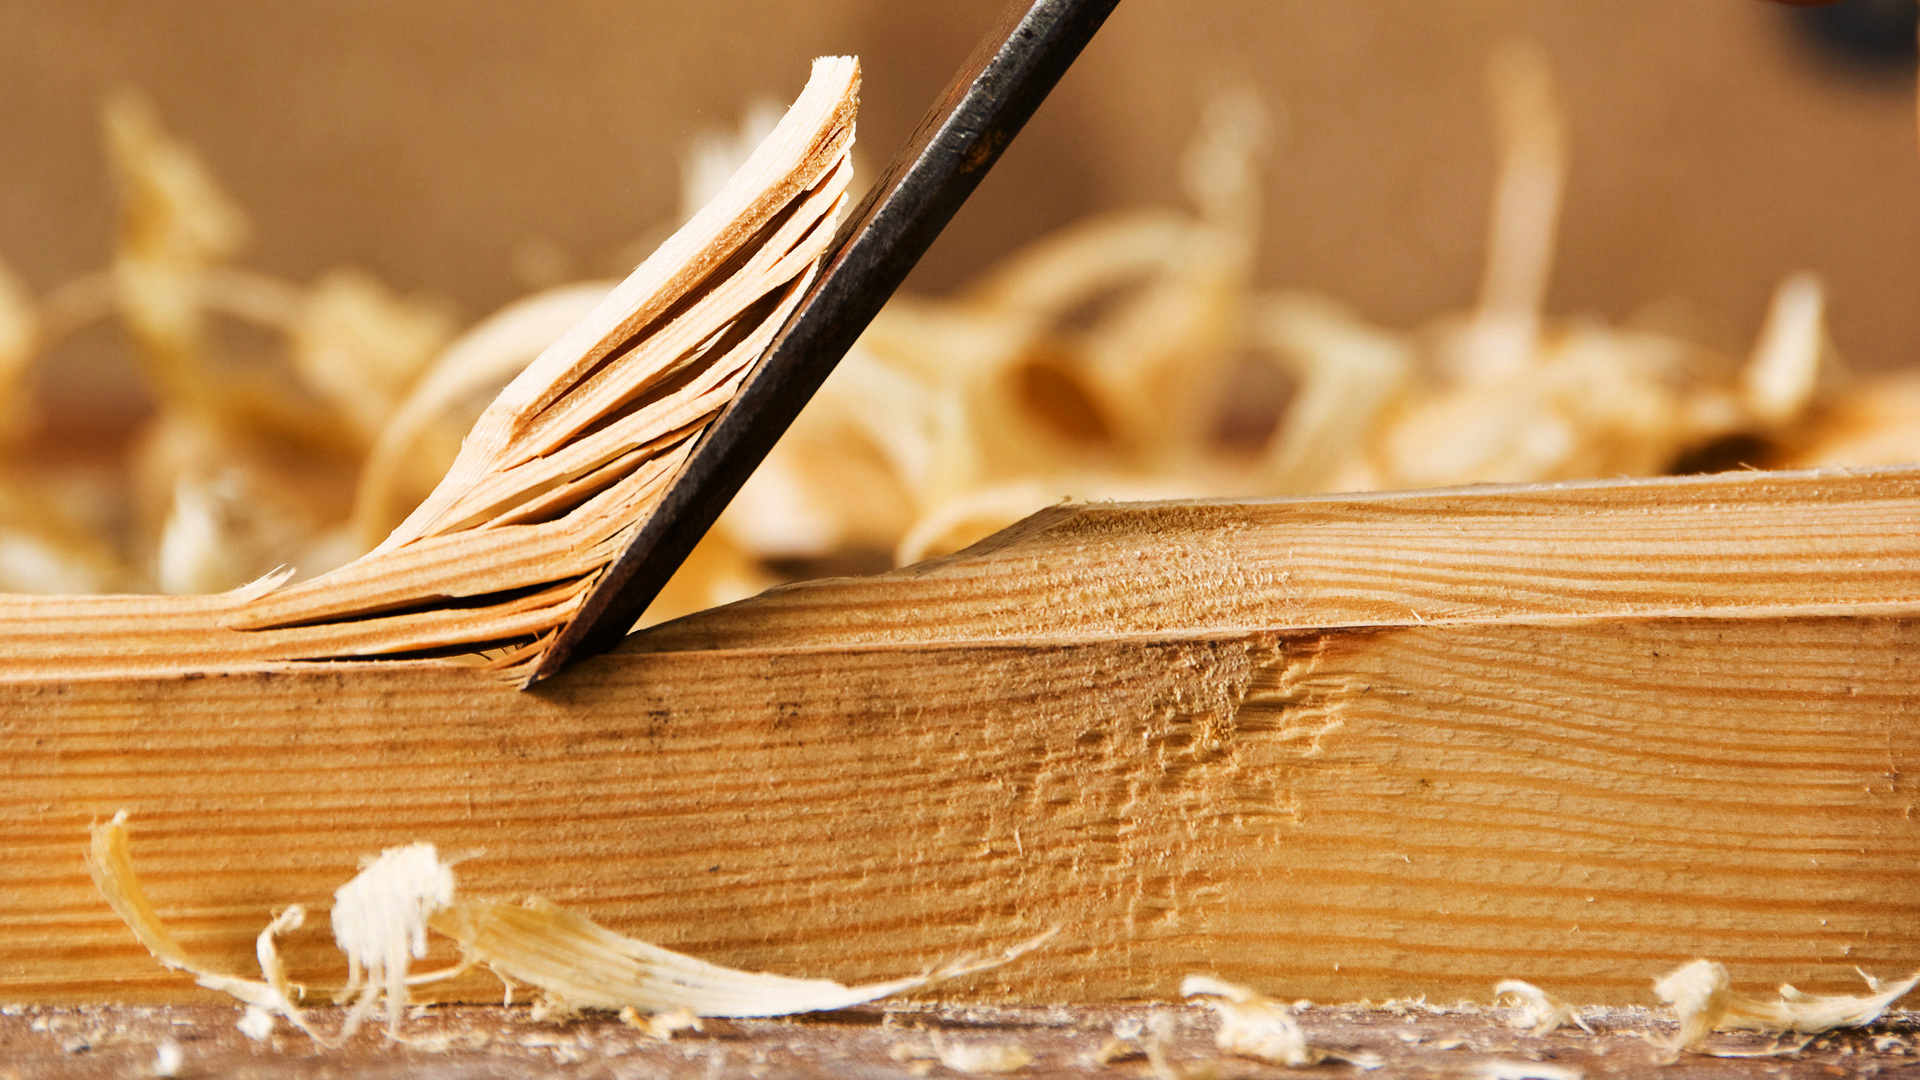
Source: wgatweet.com
Practice makes perfect. Marking, measuring, cutting, and fastening are just some of the basics you’ll need to learn and keep on practicing in order to sharpen your woodworking skills.
Tips Beginners Need to Know
Here are some helpful tips for beginners.
- Don’t be afraid to ask: One way to sharpen your skills is to ask those who have gone ahead of you, and have a treasure chest of knowledge and experience to share with beginners like you. Go and visit the masters while they’re still around.
- Take some classes:Having an expert teach you about woodworking stuff in class can offer you tons of valuable knowledge and experience in a shorter time than you would need to spend reading books and online resources. So go ahead, enroll and take that class.
- Invest in good tools:You cannot expect a good return from a bad investment. So buy some good tools and you’ll do yourself a huge favor.
Apart from wood and tools, you’ll need knowledge, skills, patience, discipline, and practice. But if you’re up to the challenge, then your traditional woodworking adventure would be nothing short of an exciting and fulfilling one.