Bookshelf-Making Simplified
Got books laying around your room and piling up on your desktop? Maybe it’s time you make your own bookshelf. Here are a few easy steps to help you build one that would perfectly fit your style and space.
First Things First
Before you get too excited about cutting your wood, you need to do the preps.
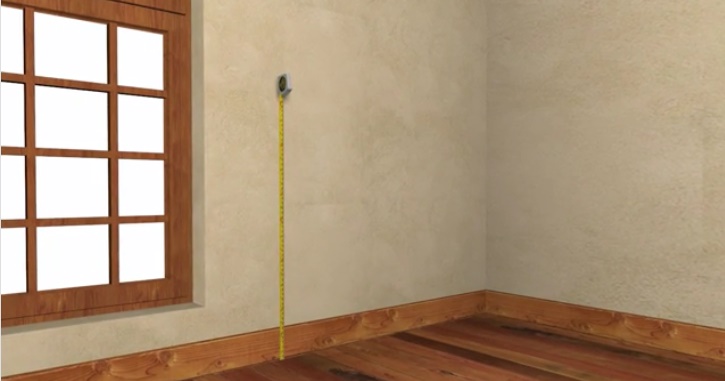
- First, you need to design and take the right measurements to make sure your bookshelf won’t be too large or too small for your space.
Source: wikihow.com
- How much space do you have? How tall, wide, and deep would you want your bookshelf to be? Measure the height and width of your space and determine the size of your bookshelf based on those measurements.
- Do you want an open or closed back bookshelf? If you want the back open, you can position it against a wall so your books can lean on it and not fall off.
- Do you have coffee-table books, paperbacks or hardbacks? You may opt for an adjustable shelving so it can accommodate different types and sizes of books.First, you need to design and take the right measurements to make sure your bookshelf won’t be too large or too small for your space.
The next step is to choose your wood . The appearance, durability, and the cost of making your bookshelf would depend on the type of wood you’ll use.
- How much is your budget? Solid wood is a lot more expensive than plywood with a hardwood veneer.
- How many plywood sheets will you need for your project? A plywood sheet is 4’ wide. Before you cut your wood, you need to calculate how many boards you can make with one sheet.
- Which wood veneer is best for your project? If you plan on painting your bookshelf, birch would be your best option. Maple is a good base for different stains while specialty woods like mahogany, teak, walnut and cherry can really shine through with a clear finish.
Cut and Build
Once you have your design, measurements, and wood, you may start cutting your wood. Here are steps on how to do it the right way.
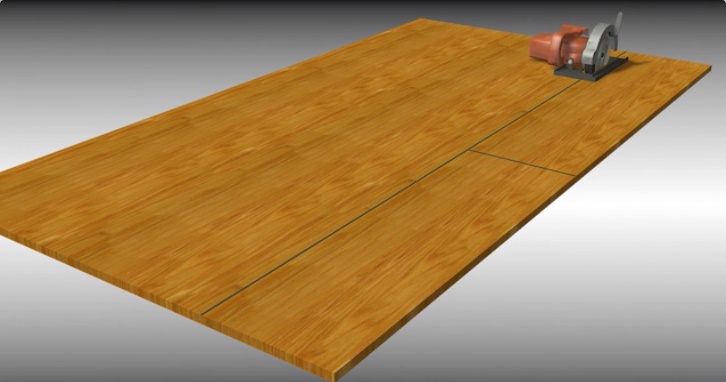
- Use the right saw. For cutting your plywood boards, you may use a table saw or a circular saw with carbide tip blade.
- Start cutting your sides. Cut your long boards based on your desired height and width or depth. For a cleaner cut, push the board through the saw in a consistent manner. Working with plywood can be quite difficult so consider asking a friend for help, and use a roller table or saw horses for additional support.
Source: wikihow.com
- Cut your bookshelf top, bottom and shelves based on the measurements you took.
- Using a router, cut the rabbet joints on your woodpiece to make your bookcase top sit squarely and securely on the two sides.
- To make adjustable shelving along your bookshelf sides, drill the first holes above and below the center shelf using a drill bit that’s of the same diameter as the shelf support pegs. Then, drill a series of equally spaced holes in the template board. To drill to the correct depth, use a piece of tape or a drill stop on the bit.
After you’ve cut your wood and bore necessary holes on your board, you can start assembling your bookshelf. Here’s how it’s done.
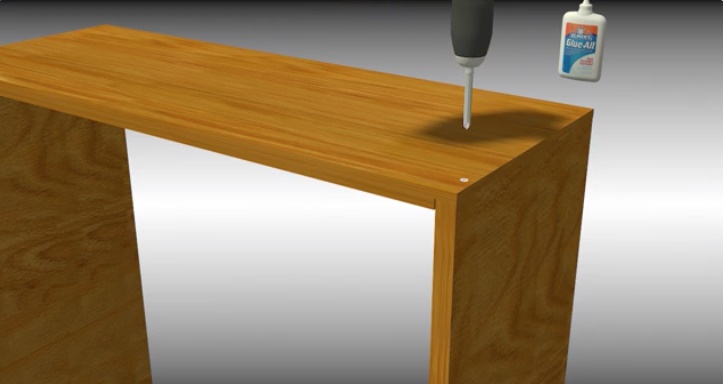
- Put the top in place by applying glue on the rabbet groove and attaching the top to the sides of the bookshelf. You may secure the top by adding some pocket screws.
Source: wikihow.com
- To strengthen the frame of your bookshelf, you may opt to add support blocks. However, you won’t be able to adjust the center shelf as it would be fixed.
- Attach the center and bottom shelf. If you decided to have support blocks, apply wood glue on the support blocks to set the bottom shelf in place. Then, drill and countersink pilot holes on your bookshelf side and attach the shelf.
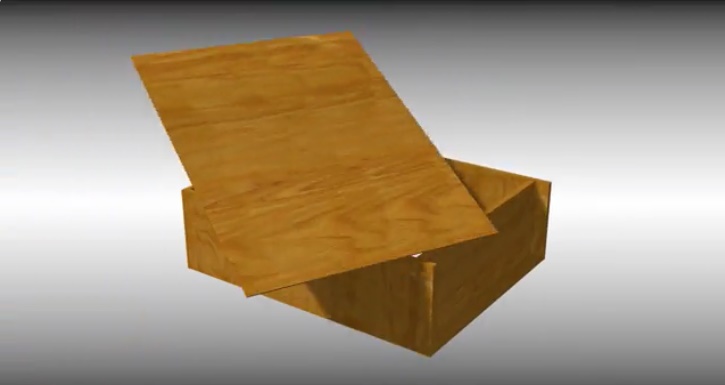
- If you decided to have a closed back bookshelf, you have to make sure you made perfect right angles and that all screws are tight enough for the shelf to stand in place securely.
Source: wikihow.com
- For a more customized look, you may opt to add trim or molding or veneer banding. You may also miter the trim pieces’ corners for a more finished look. Use a router to smoothen sharp edges.
- To remove handling marks and raised grain, sand the entire bookshelf using a 150 grit sandpaper. Use a hand block or pad sander so you can apply even pressure while sanding.
- After sanding the whole bookshelf, you can prime the unit so the wood can better absorb the paint. Once the primer dries up, you may apply the first coat of paint. Once the first coat of paint dries up, lightly sand the unit again and apply the final coat.
Spice It Up
To make your bookshelf look more inviting, inspiring, and exciting, consider these cool styling ideas. Browse over the list and pick those that would best reflect your personality and match your home’s interior.
- Use the same paint color as your wall.
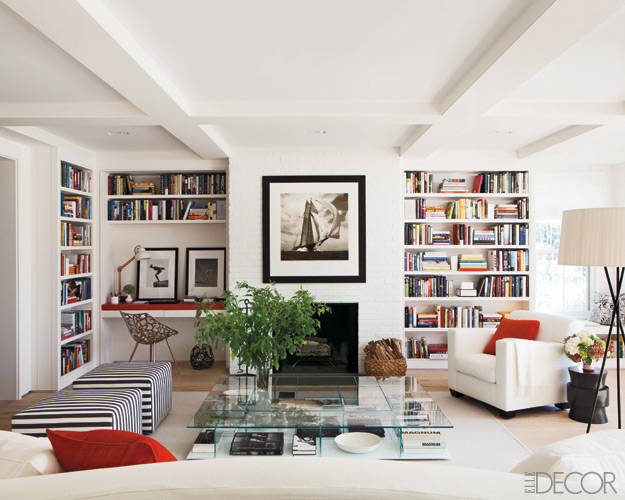
Source: elledecor.com
- Showcase a collection of your artworks on the lower shelves.
- Use glass doors for a polished finish.
- Display bright books and accessories to bring color to the room.
- Add decorative items with some natural elements.
- Sort your books according to color.
- Emphasize one hue or color tone.

Books are treasures. And with this bookshelf-making ideas, you can create for them a place in your home where you can keep, organize, and showcase them in a fun, simple, and stylish way.